If you’ve played CS2 (Counter-Strike 2) for more than five minutes, you’ve realized: crosshair is everything. A well-tuned crosshair helps your aim, reduces distractions, and gives you confidence when peeking corners. In this guide, we’ll take you from the basics all the way to pro-level custom crosshair tricks. Let’s get into it.
💡 Pro Tip: While you’re experimenting with your crosshair, don’t forget that skins make the game even more fun. On DaddySkins.com, you can open cases, upgrade your CS2 skins, and score some of the best cosmetics in the game. Test your aim in style; your perfect crosshair deserves the perfect skin.
Why Your Crosshair Matters
Your crosshair is your aiming anchor, it’s the visual cue your brain locks onto for precision. Having a crosshair that’s too thick, too faint, or blending into the map textures can make you miss kills you should’ve won. Many top players tweak their crosshairs constantly until they find one that “feels invisible but present” something you barely notice but trust implicitly.
In 2025, with CS2’s updated rendering and anti-aliasing, crosshair visibility and contrast are more important than ever. If your crosshair doesn’t pop in all lighting conditions, it’s holding you back.
CS2 Crosshair Basics
Before you jump into editing, you need to know the building blocks. Here are the core attributes:
| Setting | What It Does | Typical Values |
|---|---|---|
| Style | Which base crosshair behavior you use (static, dynamic, hybrid) | 4, 2, 5 (see below) |
Size (cl_crosshairsize) | Length of the lines extending from the center | 2 to 6 |
Thickness (cl_crosshairthickness) | How “fat” the lines are | 0.5 to 1.5 |
Gap (cl_crosshairgap) | Space between center lines | –2 to +2 (can be slight negative) |
| Color / RGB | The hue of your crosshair | Use custom RGB or presets |
Alpha / Transparency (cl_crosshairalpha) | How opaque/transparent it is | ~200 to 255 |
Outline / Draw Outline (cl_crosshair_drawoutline) | A black border to increase visibility | On or Off |
| Dot / T-Style | You can enable a center dot or T-style crosshair (no top line) | cl_crosshairdot or cl_crosshair_t |
These commands are documented in crosshair command lists for CS2.
Also, the “all CS2 Crosshair Commands” list is a very useful reference.
How to Change Your Crosshair — Step by Step
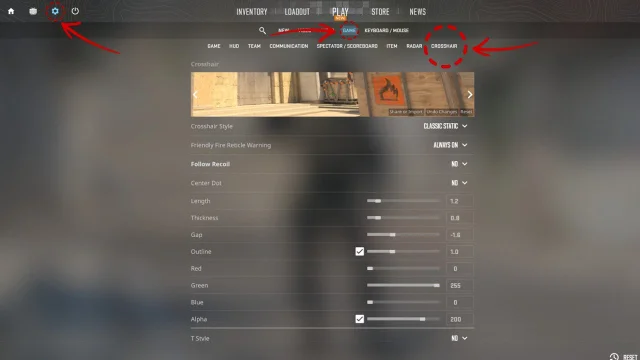
3.1 In-Game Editor (Recommended for Beginners)
- Launch CS2 → go to Settings (gear icon).
- Navigate to Game → Crosshair.
- Use the sliders / UI to change Style, Size, Thickness, Gap, Color, Outline, etc.
- In the preview box you’ll see how it looks immediately.
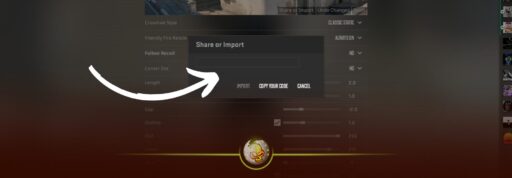
- If you like a crosshair you see online, click Share / Import in that same menu to paste its code.
This method is easiest, and good for testing quickly. But for fine control, you’ll want console commands.
3.2 Advanced via Console Commands
To unlock full control, you must use the developer console.
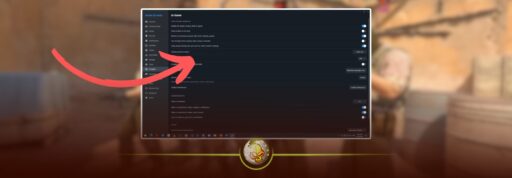
First: enable console
Go to Settings → Game → “Enable Developer Console” → set to Yes.
Then press ~ (tilde) to open it.
Here are some essential commands:
cl_crosshairstyle // choose style
cl_crosshairsize // how long the arms are
cl_crosshairthickness // how fat the arms are
cl_crosshairgap // gap at the center
cl_crosshaircolor <0–5> // built-in colors
cl_crosshaircolor_r <0–255> // custom red component
cl_crosshaircolor_g <0–255> // green component
cl_crosshaircolor_b <0–255> // blue component
cl_crosshairalpha <0–255> // transparency
cl_crosshair_drawoutline <0/1> // enable outline (black border)
cl_crosshairdot <0/1> // enable a center dot
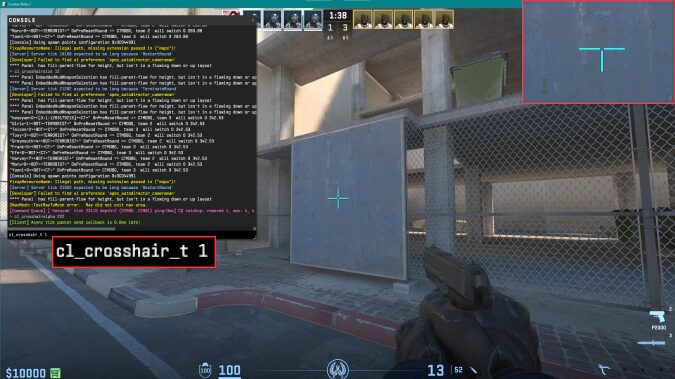
cl_crosshair_t <0/1> // T-style (no top line)
cl_crosshairgap_useweaponvalue <0/1> // dynamic gap based on weapon
Some notes on styles:
cl_crosshairstyle 4is the classic static crosshair.cl_crosshairstyle 2is classic dynamic (expands when moving/firing).cl_crosshairstyle 5is a hybrid: static except it expands on firing (but not on movement).
If you ever mess up, you can reset or re-import a code.
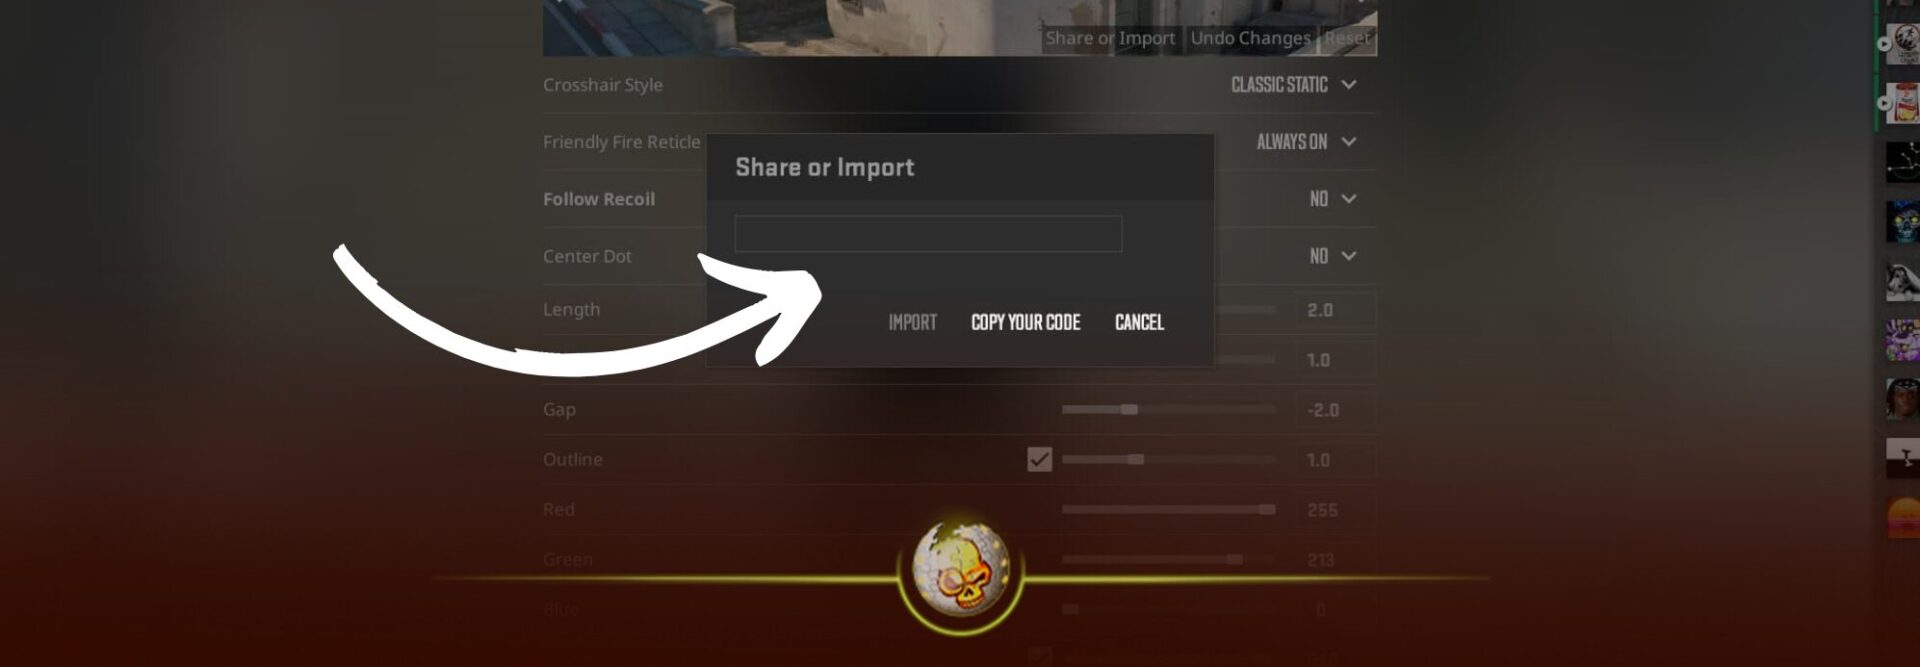
3.3 Importing Pro Crosshair Codes
If you see a pro crosshair you like, importing is painless:
- Copy the crosshair code (they usually start with
CSGO-...). - Go to Settings → Game → Crosshair → Share / Import.
- Paste the code → click Import.
This directly sets all of your crosshair parameters. - Optionally, tweak it further to your taste.
Pro crosshair databases and sites maintain updated lists.

Final Thoughts & Crosshair Checklist
There’s no universal “best crosshair” — the perfect one is the one your brain stops noticing but your aim trusts. Use this quick checklist as you test:
✅ Do you see the center clearly on all map types?
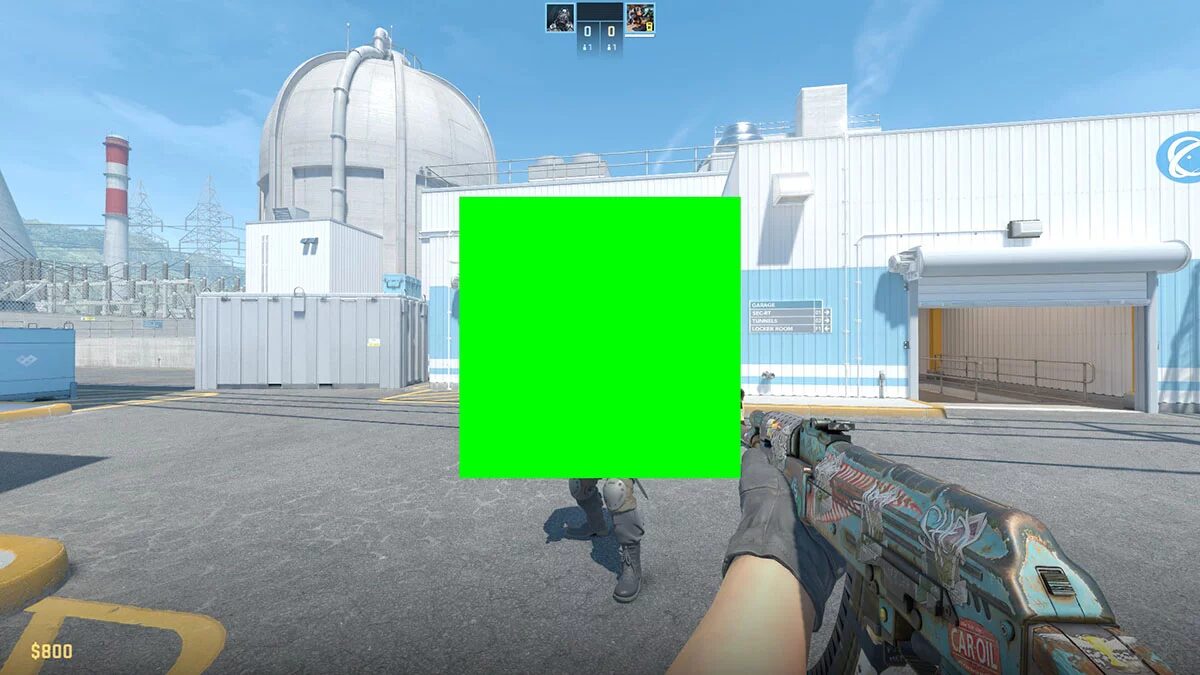
✅ Is it not blocking small model heads / limbs?
✅ Do your flicks and muscle memory feel natural?
✅ Can you still see targets in smoke or dark backgrounds?
✅ Do you avoid constant adjustments and settle on one for a stretch?
Once you find your crosshair, run with it. Stick to it for weeks so your aim can adapt.
Want some pro-level crosshair codes to test immediately? Here are a few (2025 updated):
- dev1ce:
CSGO-KNZyr-R7dK8-4fhTU-2OUA2-hif4D - NiKo: check the pro crosshair lists on Total CS or The Spike
- Ax1Le, ELiGE, ropz — lots of codes exist on crosshair databases.
Have fun testing, tweaking, and dialling in the crosshair that feels like an extension of your aim. If you want me to pick a few crosshairs for your rank / style (or make a config file you can import), I’ve got you, just say the word.
Read More From Daddyskins
- New CS2 Ranking System Explained (2025)
- CS2 Premier Season 3 Guide | Ranks, Points & Map Pool
- Counter-Strike 2 September 17, 2025 Update: What’s New?
- Grenade Sounds, Custom Scripts & the New Genesis Skins
- CS2 Esports 2025: S-Tier Events & Majors Calendar
- CS2 Trading Guide 2025: Price Trackers, Alerts, Arbitrage
- Best CS2 Pro Crosshairs (Copy Codes + How To Apply)
- CS2 Aiming Guide: Best Sensitivity, DPI, and Monitor Settings
- CS2 Pro Settings: The Ultimate 2025 Guide to Dominating
- CS2 Interp Settings: The Ultimate 2025 Optimization Guide
- List of All Crosshair Commands in CS2
- List of All CS2 (CSGO) Binds
- CS2 Beginner Guide: Ultimate Tips to Dominate in 2025
- Ultimate CS:GO & CS2 Tips Mastery Guide: Dominate in 2025
- All Game Modes in CS2 Explained!
- How to Download & Install CS2?
- Is Counter-Strike 2 Cross-Platform? Complete 2025 Guide
- CS: GO Offline: The Complete DaddySkins Guide (2025)
- Best CS2 Graphic Settings for Maximum Performance & Visibility
- CS GO Server Status: Your Complete Guide to Staying Online
- How Many People Play CS2? (2025 Player Count Analysis)
- CS2 Inferno Callouts Guide 2025
- CS2 Mirage Callouts Guide 2025
- CS2 Dust 2 Callouts Guide
- CS2 Overpass Callouts Guide (Updated 2025)
- CS2 Vertigo Callouts Guide
- Ancient Callouts Guide for CS2: Master Every Map Position
- Train Callouts: Complete CS2 Guide, Map, and Strategy (2025)
- Mastering the AK-47 Spray Pattern in CS2
- Top AK-47 Skins: Styles, Value & Customization Explained
- Case Hardened AK-47: Patterns, Value & Blue Gem Rarity
- AK Fire Serpent | Ultimate 2025 Guide to CS2’s Iconic AK Skin
- AK Neon Rider: The Ultimate Guide to CS2’s Most Iconic AK-47 Skin
- AK Wild Lotus: Ultimate Skin Guide, Price & Collectors’ Insights
- AK-47 Frontside Misty: The Ultimate CS2 Skin Guide (2025)
- Desert Eagle Printstream: Ultimate CS2 Skin Guide & Value
- How to Obtain the Best CS Skins?
- 19 Cheapest Knife Skins in CS2/CSGO 2025 – Updated Price
- Top CS2/CS:GO Case Opening Guide in 2025
- New CS2 Cases 2025: Confirmed, Leaks & Drop Windows