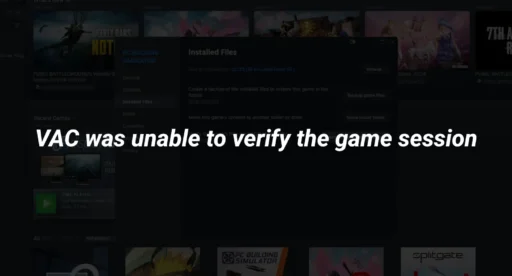
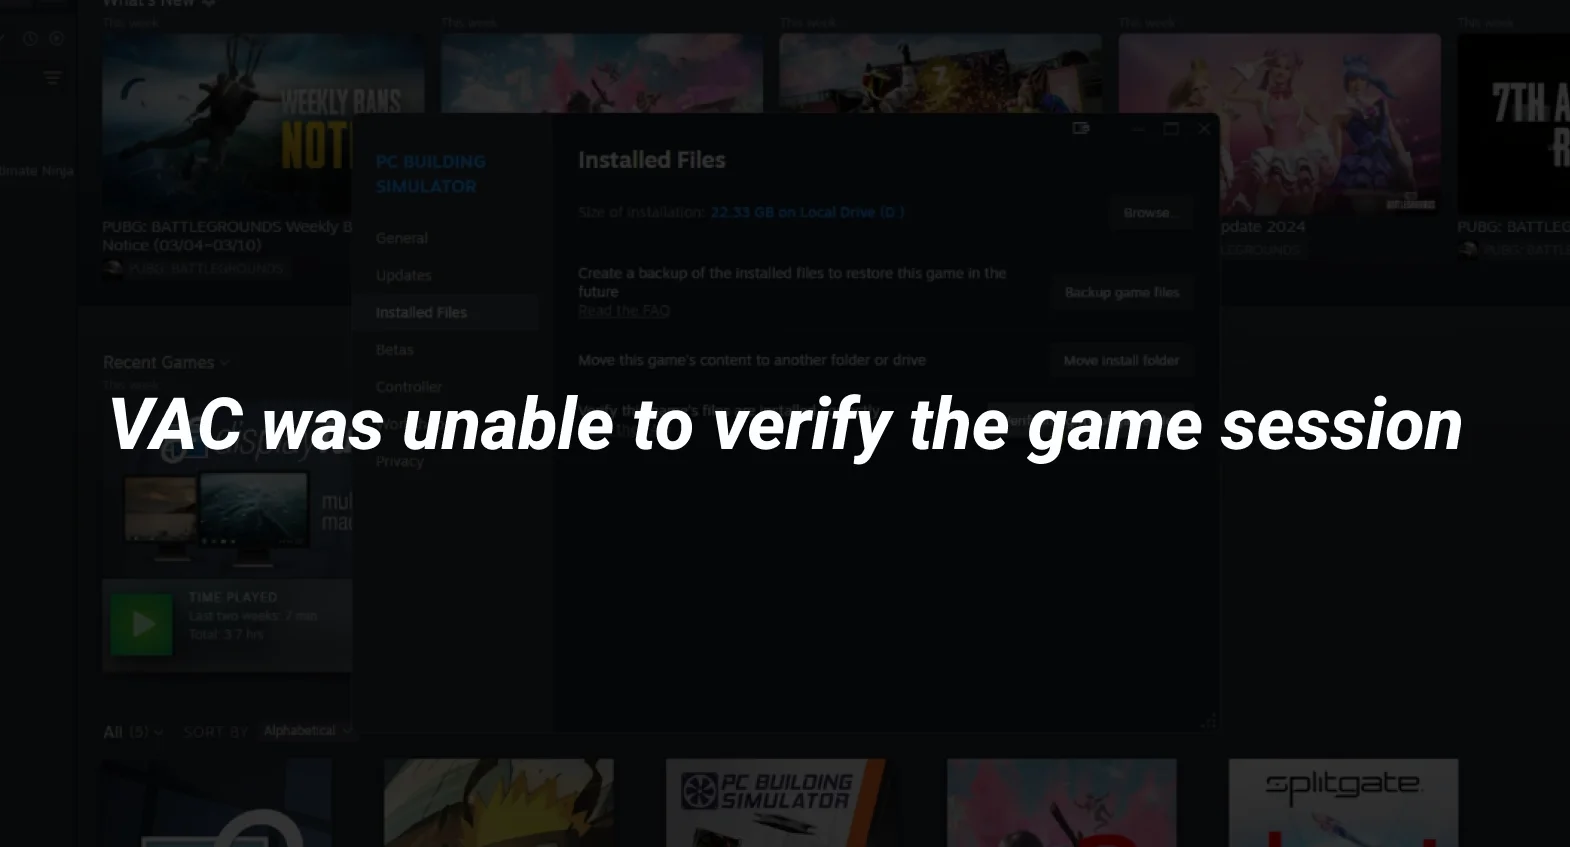
If you’re a Counter-Strike 2 fan, you’ve probably seen the dreaded “VAC was unable to verify your game session” error pop up. It’s a real headache, especially when all you want to do is jump into a match. This error usually means that the Valve Anti-Cheat system, or VAC, can’t confirm your game session’s legitimacy. This could be due to third-party software messing with your game files or some kind of system glitch. But don’t worry—there are ways to tackle this issue and get back to playing. In this article, we’ll break down what VAC does, why this error happens, and how you can fix it.
Key Takeaways
- VAC issues often arise from third-party software or system changes.
- Simple fixes like restarting your game or updating drivers can solve the problem.
- Regular system maintenance helps prevent future VAC errors.
Understanding the VAC System in CS2
The Role of VAC in Game Security
The Valve Anti-Cheat (VAC) system is a protective measure designed to ensure fair play in games like CS2. By scanning for known cheats and hacks, VAC works to maintain a level playing field. VAC’s primary function is to detect unauthorized changes to game files or the use of external software that gives players an unfair advantage. This helps keep the gaming environment secure and enjoyable for everyone.
Common Causes of VAC Verification Failures
When you see a “cs2 vac error,” it often stems from a few common issues. These can include:
- Network Instability: Issues like packet loss can disrupt the VAC’s ability to verify your session.
- Software Conflicts: Third-party programs, especially those that interact with game files, can trigger VAC errors.
- File Integrity Problems: Changes in game files, whether intentional or accidental, can cause verification failures.
Impact of Third-Party Software on VAC
Third-party software can significantly impact VAC’s functionality. Programs that modify game behavior, even if not intended for cheating, can be flagged by VAC. This includes software that adjusts graphics settings or overlays that might interfere with the game. It’s crucial to disable such programs when playing to avoid unnecessary VAC errors.
VAC’s Response to Game File Alterations
VAC is vigilant about any alterations to game files. Even minor changes, such as modifications to improve performance or adjust settings, can lead to VAC errors. The system is designed to respond swiftly to any detected changes, ensuring that all players are on equal footing. This is particularly important in maintaining the game’s tick rate and overall performance integrity.
Understanding how VAC works and the common pitfalls that lead to verification failures can help you avoid issues and enjoy a smoother gaming experience.
Preliminary Steps to Address VAC Verification Issues
Restarting Your Game and Steam Client
When you encounter the annoying “VAC was unable to verify your game session” error, a simple restart might do the trick. Begin by closing your game and exiting the Steam client. Once done, relaunch both and attempt to join your game session again. This step often clears minor glitches and refreshes the connection between the game and the VAC system.
Checking for System and Software Updates
Keeping your system and software up-to-date is crucial to avoid compatibility issues. Regularly check for updates on your operating system and any installed software, including Steam. Updated software often includes patches that can resolve bugs causing the “how to fix VAC was unable to verify game session” error.
Disabling Conflicting Software
Sometimes, third-party programs can interfere with VAC’s ability to verify game sessions. If you’re using software like VPNs, antivirus, or firewall tools, consider temporarily disabling them to see if the issue resolves. Be cautious and ensure your system remains secure during this process.
Verifying Game File Integrity
Steam provides a handy feature to verify the integrity of game files, which can be incredibly useful if VAC is having trouble. To do this:
- Open Steam and navigate to your Library.
- Right-click on the game experiencing the issue and select Properties.
- Go to the “Local Files” tab and click on “Verify Integrity of Game Files”.
This process will check for any corrupted or missing files and replace them, potentially fixing the VAC error.
While these steps might seem basic, they can significantly reduce the chances of encountering VAC verification issues. Regular maintenance and cautious use of third-party software can help maintain a smooth gaming experience, free from rubberbanding or unexpected disruptions.
Advanced Solutions for Resolving VAC Verification Errors
When you encounter a VAC authentication error, it can be frustrating. But don’t worry, there are several advanced solutions you can try to get back to gaming smoothly.
Running the Game as Administrator
Running your game as an administrator can sometimes bypass restrictions that cause VAC errors. To do this, right-click on the game executable, select Properties, navigate to the Compatibility tab, and check the box that says “Run this program as an administrator.” Click Apply, then OK, and relaunch your game.
Repairing Steam Client via Command Prompt
If the VAC error persists, you might need to repair your Steam client. Open Command Prompt as an administrator and type the following command:
“C:\Program Files (x86)\Steam\bin\SteamService.exe” /repair
Press Enter and wait for the process to complete. This command will check and repair your Steam client, potentially resolving any underlying issues.
Updating Device Drivers
Outdated drivers can sometimes interfere with VAC, leading to errors. Make sure all your device drivers are up-to-date:
- Open Device Manager.
- Right-click on any device with a warning icon and select Update Driver.
- Follow the prompts to search automatically for updated driver software.
Managing Background Processes and Services
Certain background processes can conflict with VAC, causing verification problems. It’s a good idea to manage these processes:
- Press Ctrl + Shift + Esc to open Task Manager.
- Look for any non-essential applications that might be running and close them.
- Pay special attention to any third-party software, as these are often culprits.
Note: Always ensure that your system is free from unnecessary software that might interfere with VAC. Sometimes, the server is reserved for game lobby, leading to unexpected issues.
By following these steps, you can address most VAC verification issues and enjoy a seamless gaming experience. If problems persist, consider reaching out to Steam Support for further assistance.
Preventive Measures to Avoid Future VAC Verification Problems
Regular System Maintenance and Updates
Keeping your system updated is like changing the oil in your car—it’s essential for smooth operation. Regular updates can prevent stuttering issues during gameplay, which sometimes lead to VAC verification failures. Make sure your operating system and all drivers are up to date. This includes graphics drivers, which are crucial for running games smoothly. Also, keep an eye on Steam updates; they often include fixes for known VAC issues.
Safe Use of Third-Party Software
Third-party software can be a double-edged sword. While some programs can enhance your gaming experience, others might interfere with the VAC check. Be cautious about what you install. Avoid using software that modifies game files or injects scripts into running processes. If you must use third-party applications, ensure they are from reputable sources and are compatible with your game.
Understanding VAC’s Limitations
It’s important to know that VAC isn’t foolproof. Sometimes, it might flag a session incorrectly. Understanding these limitations can help you better troubleshoot when issues arise. Remember, VAC is designed to detect cheats, but it can occasionally misinterpret legitimate software as a threat.
Community Best Practices for VAC Compliance
Engage with the gaming community to stay informed about best practices for VAC compliance. Here are a few tips:
- Avoid altering game files: Even minor changes can trigger VAC errors.
- Use launch options carefully: Some launch options might conflict with VAC checks.
- Participate in forums: Share experiences and solutions with other players.
Staying informed and cautious is your best defense against future VAC verification problems. By following these preventive measures, you can enjoy a seamless gaming experience without the hassle of VAC errors.
Conclusion
In wrapping up, dealing with the “VAC was unable to verify your game session” error can be a real headache for gamers, especially those diving into Counter-Strike 2. But don’t worry, the solutions we’ve discussed are tried and tested by many players who faced the same issue. Whether it’s a simple restart, updating drivers, or tweaking your antivirus settings, these steps can help you get back into the game. Remember, technology can be finicky, and sometimes it just takes a bit of patience and trial and error to find the right fix. So, next time you encounter this error, you’ll know exactly what to do. Happy gaming!

