Setting up your own CS2 dedicated server might seem tricky at first, but it’s not as hard as you think. Whether you want to play with friends or run a community server, having control over the server settings can enhance your gaming experience. This guide will take you through the process step by step, from choosing the right hosting environment to managing your server efficiently. Let’s get started!
Key Takeaways
- Setting up a CS2 dedicated server gives you full control over game settings and player access.
- Regular maintenance and updates are crucial for smooth server performance.
- Choosing the right hosting environment can significantly impact your server’s efficiency.
Understanding the Basics of CS2 Dedicated Servers
Importance of Dedicated Servers in CS2
Setting up your own dedicated server for CS2 lets you take control over your gaming environment. Unlike public servers, you decide who gets to join, what maps are played, and how the game settings are configured. This level of control is invaluable for those wanting a tailored gaming experience. Moreover, having a dedicated server can significantly reduce issues like packet loss, ensuring smoother gameplay.
Basic Requirements for Hosting a CS2 Server
Before diving into server setup, you need to ensure your hardware meets the basic requirements. You’ll need at least 8GB of RAM, a stable and fast internet connection, and around 20GB of free SSD storage. Here’s a quick checklist to get started:
- A dedicated machine (not your main gaming rig) or a rented server.
- Reliable internet with good upload speeds.
- Remote access tools (Remote Desktop for Windows or SSH for Linux).
Advantages of Using a Dedicated Server
There are several benefits to running a dedicated server. First, you can host private matches with friends, free from the chaos of public servers. Second, you have the freedom to customize game modes and maps to your liking. Lastly, knowing how to end warmup rounds quickly and manage server settings gives you a competitive edge, making your server a hub of personalized gaming.
Setting Up Your CS2 Dedicated Server
Choosing the Right Hosting Environment
To host a CS2 server, deciding between a personal machine and a rented server is crucial. If you’re using your own PC, make sure it’s not your primary gaming device. A dedicated machine ensures better performance and stability. A strong internet connection is vital, with a focus on upload speeds since multiple players will connect simultaneously. For those opting to rent, you’ll connect remotely via Remote Desktop for Windows or SSH for Linux.
Installing SteamCMD for Server Setup
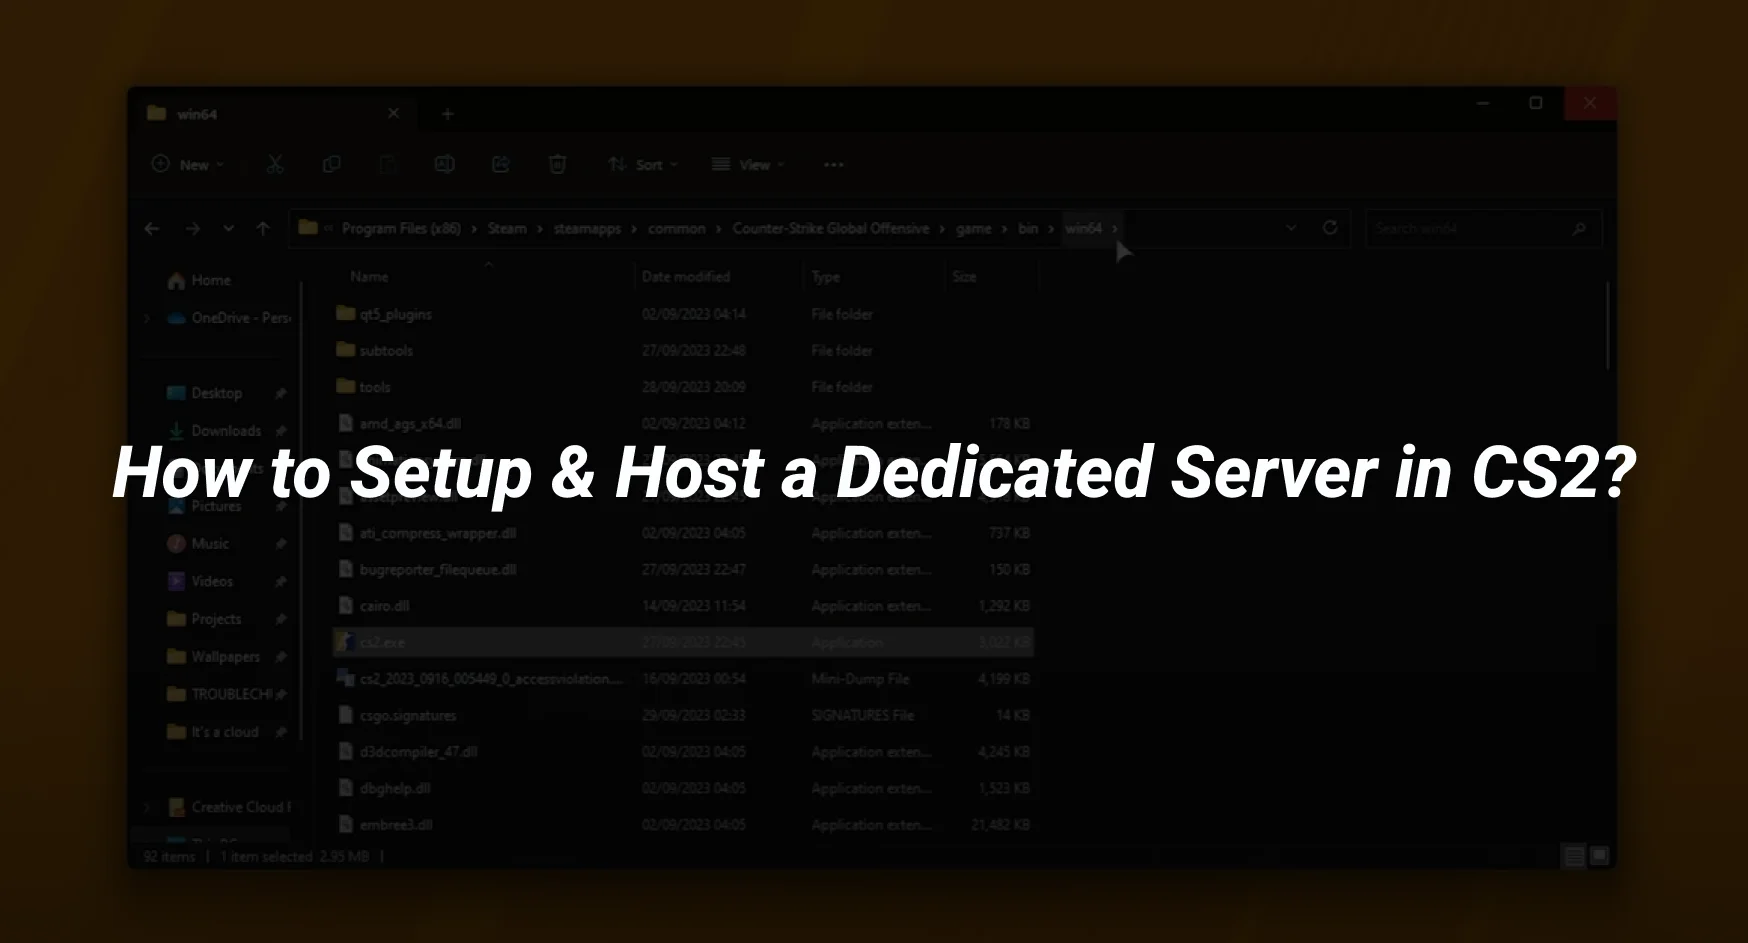
SteamCMD is essential for downloading and updating your CS2 server files. Here’s a step-by-step guide:
- Download and install SteamCMD on your server.
- Set the install directory for your CS2 server using the command: force_install_dir /path/to/cs2-ds/.
- Log in with your Steam credentials: login <username> <password>.
- Install the server files with: app_update 730 validate.
- Once complete, type quit to exit SteamCMD.
Configuring Initial Server Settings
After installation, it’s time to tweak your server settings. Navigate to the server directory and locate the server.cfg file. This is where you’ll adjust settings like server name, game type, and rules. Use the auto exec feature to load configurations automatically.
- Set your server name: hostname “Your CS2 Server”
- Define the game mode: mp_gametype “Your Game Type”
- Adjust other parameters as needed.
Remember to save changes to your config file before exiting. Private matchmaking options can also be configured here, allowing you to host cs2 server games tailored to your preferences.
By following these steps, you can effectively create and manage cs2 custom servers, providing a seamless gaming experience for you and your friends.
Advanced Configuration and Customization
Once your CS2 server is up and running, you might want to tweak it further to suit your needs. This section covers how to adjust configurations, customize game modes, and enhance security.
Editing the Server Configuration Files
To start customizing your server, you’ll need to dive into the server configuration files. These files allow you to set up the server name, game type, and other essential settings. Here’s a quick guide:
- Navigate to your CS2 server directory.
- Open the server.cfg file using a text editor like nano or Notepad.
- Modify the settings to your preference. For instance, change the server name with hostname “Your Server Name” and set the game type using mp_gametype “Your Game Type”.
- Save the changes and restart your server for the settings to take effect.
Note: Always back up your configuration files before making changes. This ensures you can revert to a previous state if something goes wrong.
Customizing Game Modes and Maps
CS2 offers multiple game modes, each with unique settings. You can customize these modes to create a unique gaming experience:
- Competitive: Set with game_mode 1 and game_type 0.
- Wingman: Use game_mode 2 and game_type 0.
- Casual: Adjust with game_mode 0 and game_type 0.
- Deathmatch: Configure using game_mode 2 and game_type 1.
To change the map, use the command map <mapname>, replacing <mapname> with your desired map.
Implementing Security Measures
Security is vital for maintaining a stable and fair gaming environment. Consider the following measures:
- Enable VAC (Valve Anti-Cheat): This is crucial to prevent cheating. Ensure your server runs in secure mode.
- Set up a firewall: Protect your server from unauthorized access by configuring a firewall.
- Regular updates: Keep your server software up to date to protect against vulnerabilities.
By following these steps, you can ensure your CS2 server not only runs smoothly but also offers a tailored experience for your players. Remember, fast forward cs2 replay can be a handy tool for reviewing gameplay and identifying issues or improvements needed.
Managing and Maintaining Your CS2 Server
Once your CS2 server is up and running, the real work begins. Keeping it smooth and efficient requires some ongoing attention. Here’s how to handle it:
Regular Updates and Backups
Staying current with updates is crucial. Regularly check for updates and patches to ensure your server runs the latest version of the game. Use SteamCMD with the app_update 730 command to fetch updates. Additionally, setting up a backup routine will safeguard your server data. Consider a weekly schedule to back up configuration files and player data.
Monitoring Server Performance
Keeping an eye on your server’s performance can prevent issues before they start. Watch for latency spikes, CPU usage, and memory consumption. Tools like htop for Linux or Task Manager for Windows can help you monitor these metrics. If your server’s performance dips, it might be time to upgrade your hardware or optimize your settings.
Utilizing Automation Tools for Efficiency
Automation can simplify server management. Scripts or tools like Docker can handle repetitive tasks, such as restarting the server or applying updates. Implementing the infinite time command can also aid in testing and development, allowing you to run scenarios without time constraints.
Remember, the key to a successful CS2 server is consistent maintenance and vigilance. By automating routine tasks and staying on top of updates, you ensure a seamless experience for your players.
Conclusion
Setting up a dedicated server for Counter-Strike 2 might seem like a big job, but with some patience and this guide, you’ll have it running smoothly. Once everything’s set up and maintained, you’ll have a great platform for you and your friends to enjoy custom games, practice, or host community matches. It’s a rewarding experience that gives you control over your gaming environment, allowing you to tailor it to your preferences. So, whether you’re looking to host a private match or create a community hub, a dedicated server is a fantastic way to enhance your CS2 experience.

