A clear, step by step guide to upgrading skins, understanding odds, and controlling float
Trade Up Contracts are one of the easiest ways to turn a pile of lower tier skins into a shot at something better. The catch is simple. If you do it without a plan, you usually lose value. If you do it with a plan, you can target specific collections, manage risk, and aim for better wear tiers.
You can also use our UPGRADE feature on Daddyskins which kind of works like trade-ups in CS2 👆
What is a Trade Up Contract in CS2
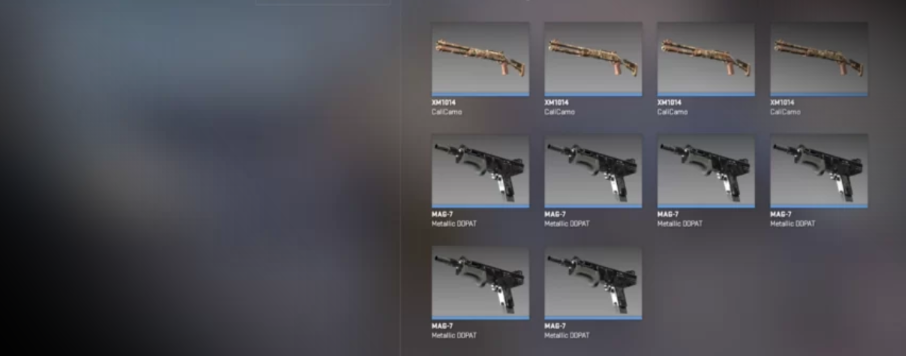
A Trade Up Contract lets you exchange 10 weapon skins of the same rarity for 1 skin of the next rarity up. Inputs must be either all Normal or all StatTrak, and Souvenir skins cannot be used.
Important rules
• All 10 skins must be the same rarity
• All must be Normal or all StatTrak
• Souvenir skins cannot be used
• Output skins come from the collections used
| Input rarity | Output rarity |
|---|---|
| Consumer Grade | Industrial Grade |
| Industrial Grade | Mil Spec |
| Mil Spec | Restricted |
| Restricted | Classified |
| Classified | Covert |
How Trade Up outcomes work
Your result is chosen from the collections represented by your 10 inputs. If you use skins from multiple collections, your possible outcomes come from those collections, which can dilute your chance of hitting the one you want.
| Check | What you want to see |
|---|---|
| Input count | Exactly 10 skins |
| Input rarity | All the same rarity |
| StatTrak status | All Normal or all StatTrak |
| Souvenir | None included |
| Collections | Preferably 1 collection if you want clean odds |
| Outcome pool | You understand every possible result |
| Float goal | Inputs support the wear you want |
Step by step
How to do a Trade Up correctly
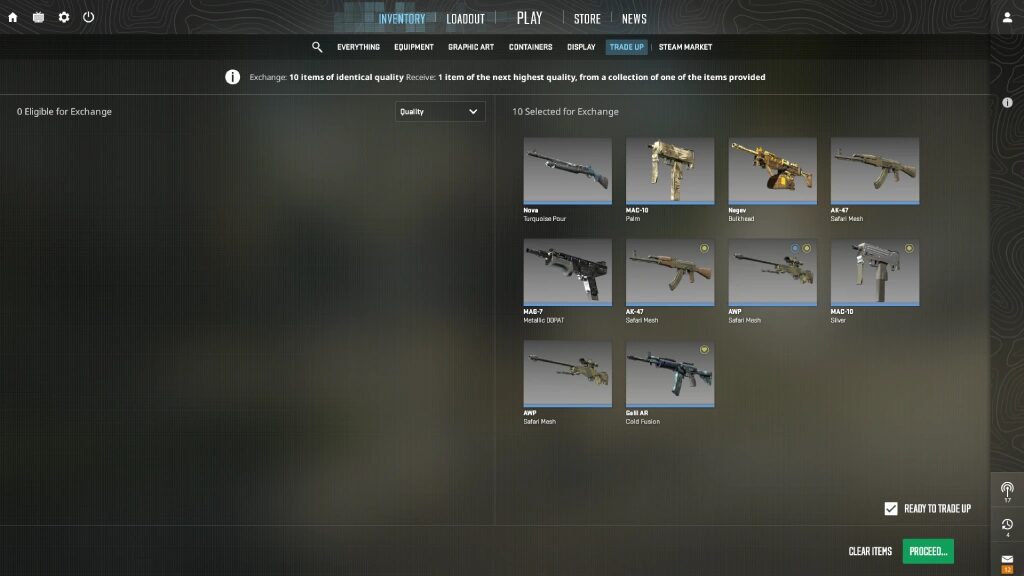
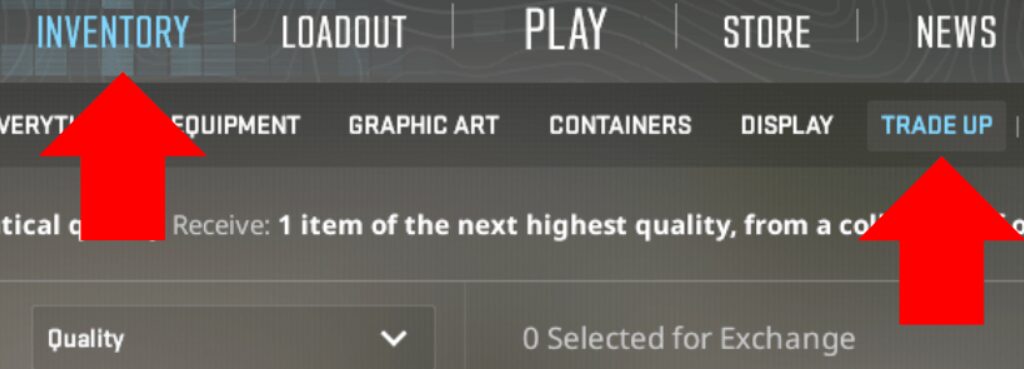
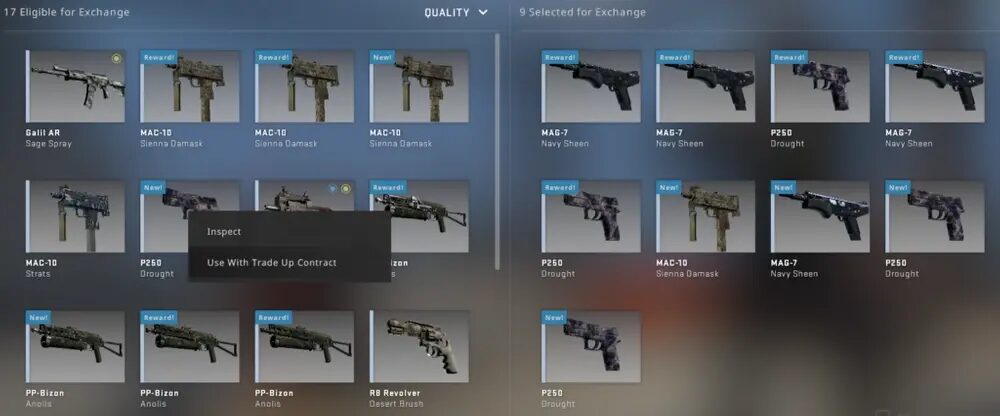
• Open CS2 → Inventory → Trade Up Contract
• Decide your target output skin first, not your inputs
• Check which collection that skin belongs to
• Choose your starting rarity (Mil Spec → Restricted is best for most players)
• Buy 10 skins of the same rarity that follow all rules
• Prefer one collection unless you intentionally want split odds
• Check how many possible outputs exist at the next tier
• Buy inputs with floats that support the wear you want
• Double check rules, collections, and worst-case outcome
• Submit the contract and receive 1 upgraded skin
If you don’t want to risk losing money on your CS2 skins you can use Daddyskins EXCHANGE feature to exchange whatever skin you want for something of the same value.
How floats affect Trade Ups
The float of your output skin is based on the average float of your inputs, adjusted to the output skin’s float range.
Why this matters
• Wear tiers massively affect price
• Factory New and Minimal Wear often sell much higher
• Some skins require extremely low floats to hit FN
If you are targeting high value Factory New outcomes, float planning is mandatory.
Mil Spec Trade Ups (best place to start)
Mil Spec to Restricted trade ups are the most popular because
• Inputs are affordable
• Collections are easy to control
• You can learn odds without massive losses
Best practice
Use 10 Mil Spec skins from the same collection as your target Restricted skin.
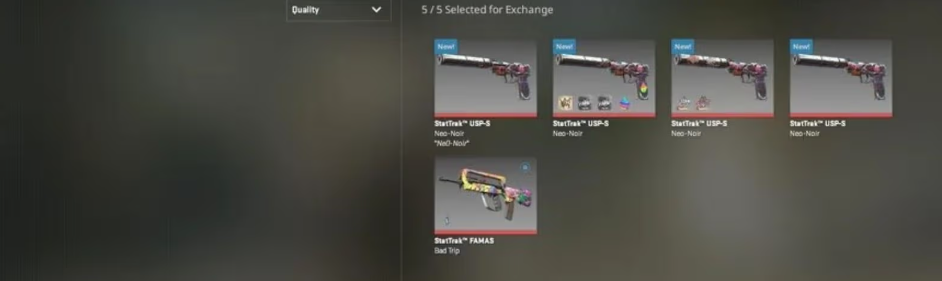
StatTrak Trade Ups
StatTrak trade ups follow the same system, but
• All 10 inputs must be StatTrak
• Outputs are harder to sell
• Inputs are more expensive
Only do StatTrak trade ups if you understand liquidity.
Common Trade Up mistakes
• Buying random skins without picking a target
• Mixing collections without understanding odds
• Ignoring float requirements
• Valuing the best outcome instead of the worst
• Treating trade ups like gambling instead of planning
Read More From Daddyskins
- CS2 Mic Not Working – How to Fix in 2 Minutes
- How to Reverse Trade CS2
- How to Trade Up to a Knife in CS2: Complete Step-by-Step Trade-Up Guide (2025 Update)
- CS2 Trade Reversal Guide: How to Undo a Steam Trade?
- CS2 Cheapest Mil Spec Skins To Start A Trade Up Path To Covert
- CS2 Trade up Calculator (How Do They Work)
- CS2 Trade Up Odds From Covert To Knives, Explained
- Who is Donk CS2?
- Cheapest Coverts CS2 to Upgrade (UPDATED, November)
- Are CS2 Skins Still a Good Investment in 2025
- Is CS2 Down How To Check Server Status Instantly
- Knife and Glove Trade Ups in CS2 How to Turn 5 Covert Skins into a Specific Item
- CS2 Skin Float and Wear Explained Full Guide to Float Values, Wear Ratings, and Prices
- CS2 Skin Trading for Beginners
- How to Show FPS in CS2?
- Best CS2 Plays of 2025
- Best CS2 Settings Guide 2026
- Where To Watch The Grand Final Of The StarLadder Budapest Major CS2
- How to Unlock Premier Mode in CS2
- Cheapest CS2 Gloves 2025 [UPDATED]
- Prediction for MOUZ vs FaZe — StarLadder Budapest Major 2025 Playoffs