
Counter-Strike 2 (CS2) is a game where precision and timing are everything. One of the most useful techniques for mastering grenade throws is the jump throw bind. This guide will walk you through everything you need to know about setting up a jump throw bind in CS2, why it’s important, and how to use it effectively. Whether you’re a beginner or a seasoned player, this guide will help you elevate your gameplay.
What is a Jump Throw Bind in CS2?
A jump throw bind is a custom keybind that allows you to execute a perfect jump throw grenade with a single button press. This is especially useful for consistent smoke grenade throws, as it eliminates human error in timing.
In CS2, grenade mechanics are crucial for controlling the map and gaining an advantage over your opponents. By using a cs2 jump throw bind, you can ensure that your smokes, flashes, and molotovs land exactly where you want them, every time.
Why Use a Jump Throw Bind in CS2?
Here are some reasons why you should consider setting up a jumpthrow bind cs2:
- Consistency: Ensures your grenades land in the same spot every time.
- Precision: Perfect for executing complex smoke lineups.
- Time-Saving: Reduces the need to practice timing manually.
- Competitive Edge: Gives you an advantage over players who don’t use this technique.
If you want to learn more about other useful binds, check out our guide on how to use buy binds in CS2.
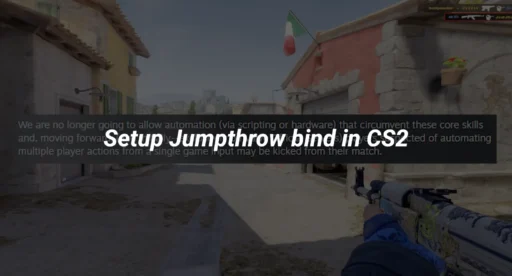
How to Bind Jump Throw in CS2
Setting up a jump throw bind cs2 is simple and only takes a few steps. Follow the instructions below to create your bind:
Step 1: Open the Developer Console
- Launch CS2 and go to Settings.
- Navigate to the Game tab.
- Enable the Developer Console by setting it to Yes.
Step 2: Create the Jump Throw Bind
- Open the console by pressing the ~ (tilde) key.
- Enter the following command to bind a key to the jump throw action:
- Copy
- bind “key” “+jump;-attack;-jump”
Replace “key” with the key you want to use (e.g., “h”, “mouse4”, etc.).
For example: - Copy
- bind “h” “+jump;-attack;-jump”
- Press Enter to save the bind.
Step 3: Test Your Bind
- Join a practice server or a custom game.
- Equip a grenade and press your bound key to test the jump throw.
- If done correctly, your character will jump and release the grenade at the peak of the jump.
Tips for Using the Jump Throw Bind in CS2
- Practice Lineups: Use the cs2 jumpthrow bind to practice smoke and flashbang lineups in offline maps.
- Combine with Other Binds: Pair your jump throw bind with other useful binds like CS2 chat binds for better communication.
- Experiment with Keys: Choose a key that feels comfortable and doesn’t interfere with your movement or shooting.
Common Issues and Troubleshooting
If your jump throw bind cs2 isn’t working, here are some things to check:
- Ensure the Developer Console is enabled.
- Double-check the syntax of your bind command.
- Make sure the key you’re binding isn’t already assigned to another action.
For more advanced troubleshooting, check out our guide on how to enable net graph in CS2.
Advanced Techniques with Jump Throw Binds
Once you’ve mastered the basics, you can use your cs2 jump throw bind for advanced strategies:
- Fake Smokes: Use jump throws to fake grenade throws and confuse opponents.
- Pop Flashes: Perfect your flashbang timing to blind enemies without exposing yourself.
- Molotov Lineups: Use precise molotov throws to clear common hiding spots.
For more tips on grenade mechanics, check out our guide on CS2 grenade cam command.
Conclusion
Mastering the jump throw bind cs2 is a game-changer for any Counter-Strike 2 player. It ensures consistency, precision, and gives you a competitive edge in matches. By following this guide, you can easily set up your bind and start practicing advanced grenade lineups.
If you’re interested in optimizing your CS2 experience further, check out our guides on CS2 max FPS and how to clear decals in CS2.