Ever been in the middle of a CS2 match and wondered why your game is acting up? You’re not alone. The net graph in CS2 is a handy tool that gives you real-time stats about your network performance. If you’re serious about your game, understanding how to use this feature is key. This guide will walk you through the settings and commands needed to display the net graph in CS2, so you can keep an eye on your ping, FPS, and packet loss.
Key Takeaways
- CS2’s net graph helps players monitor network stats like ping and FPS.
- Access the net graph via the settings menu, not console commands.
- Customizing the net graph can optimize your gameplay experience.
Understanding the Net Graph in CS2
Definition and Purpose of the Net Graph
In the realm of CS2, the net graph is a crucial tool for players who wish to keep tabs on their network performance. Its main purpose is to provide real-time data about your connection to the game server, including ping, packet loss, and frames per second (FPS). This feature, once accessible through console commands in the original CS:GO, now requires configuration through the game’s settings. By understanding how to show net graph CS2, you can better anticipate and react to network issues that may affect gameplay.
Components of the Net Graph
The net graph in CS2 consists of several components:
- Ping: This measures the round-trip time for data sent from your computer to the server and back. A lower ping indicates a more responsive connection.
- FPS (Frames Per Second): Displays how smoothly the game is running on your hardware. Higher FPS is generally better.
- Packet Loss: Shows the percentage of data packets lost in transmission. High packet loss can lead to noticeable disruptions in gameplay.
These elements are vital for anyone looking to optimize their CS2 network settings.
Importance of Monitoring Network Performance
Monitoring your network performance using the net graph is important for several reasons:
- Troubleshooting: Identifying issues related to lag or connectivity can help in resolving them promptly.
- Performance Optimization: Knowing your FPS and ping allows you to adjust settings for smoother gameplay.
- Competitive Edge: In competitive matches, even slight delays can be the difference between winning and losing.
Keeping an eye on the net graph can significantly impact your gaming experience, allowing you to adjust knife commands and other game settings based on real-time data.
By utilizing the cs2 net graph command effectively, you ensure that your gaming sessions are as seamless and enjoyable as possible. Whether you’re trying to cs2 show ping or adjust other settings, understanding the net graph is key.
Configuring Settings for Optimal Net Graph Display
Accessing the Settings Menu
To get the net graph up and running, the first step is to dive into the settings menu of CS2. You can find this by launching the game and clicking on the settings wheel icon from the main menu. It’s pretty straightforward, but make sure you’re looking in the right place.
Adjusting Display Options
Once you’re in the settings, head over to the Game section and look for the Telemetry options. Here, you’ll want to make some changes to ensure the net graph displays properly. Specifically, set “Show frame time and FPS,” “Show ping,” and “Show packet loss/misdelivery” to “Always.” This will ensure you’re always in the loop with your network performance while playing.
Customizing Graph Parameters
If you’re keen on tweaking the net graph to suit your preferences, there are a few parameters you can adjust. While the basic settings should suffice for most players, those who want more detailed feedback might consider adjusting these parameters. Experimenting with different settings can help you find the optimal display that suits your gameplay style.
Remember, practice commands regularly to familiarize yourself with the settings and ensure you’re getting the most out of your net graph display. Keeping an eye on these metrics can make a big difference in competitive play, helping you react to network issues before they affect your game.
Utilizing Commands to Activate the Net Graph
Basic Console Commands for Net Graph
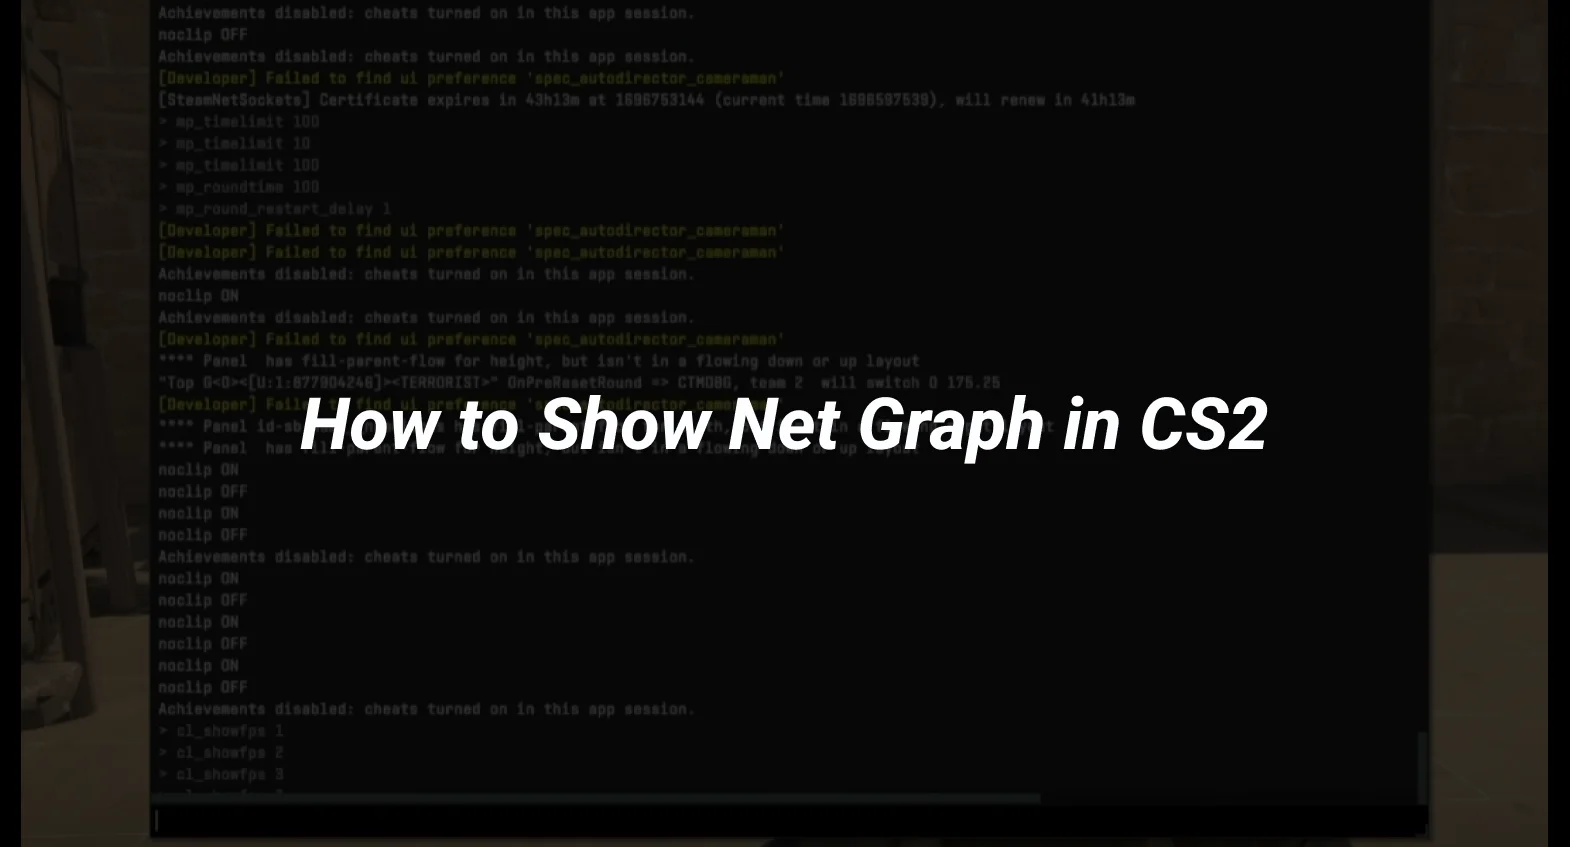
Enabling the net graph in CS2 isn’t as straightforward as it used to be in previous versions, but it’s still pretty doable with the right commands. To get started, you’ll need to access the console in the game. Here’s a quick guide:
- Launch CS2 and enter a match.
- Press the “~” key to open the console.
- Type cq_netgraph 1 and hit enter.
This command will bring up a graph on your screen, showing important details like your ping and FPS. Just remember, this only works during matches and won’t appear in the main menu.
Advanced Command Options
For those wanting more detailed information, CS2 offers a couple of advanced commands. If you’re just interested in monitoring your FPS, try using cs_showfps 1. This command displays a bar at the top of your screen with FPS data. While not as comprehensive as the full net graph, it gets the job done if FPS is your main concern.
Additionally, you can tweak other settings through the console to better fit your needs:
- net_graphproportionalfont 0 – Adjusts the font size of the net graph.
- net_graphheight 64 – Changes the height of the net graph display.
- net_graphmsecs 400 – Sets the duration for network data display.
Troubleshooting Common Issues
Sometimes, you might run into issues where the net graph doesn’t display correctly or at all. Here are some quick fixes:
- Console Not Opening: Ensure that the developer console is enabled in your game settings. You can find this option under “Game” settings.
- Graph Not Showing in Menus: Remember, the net graph commands only work in active matches.
- Minimap Commands Interference: If you’re having trouble with the net graph overlapping with other UI elements, check your minimap settings and adjust the scale or position.
Tinkering with these settings can help you get the most out of your gaming experience by ensuring you have all the necessary performance data at your fingertips.
Analyzing Data from the Net Graph
Interpreting Network Latency
Understanding network latency is crucial when you’re gaming in CS2. Latency, often referred to as ping, is the time it takes for your actions to be registered on the server. Ideally, you want this number to be as low as possible to ensure smooth gameplay. A high ping can lead to delayed actions, making it difficult to compete effectively. The net graph provides real-time updates on your latency, helping you identify any spikes or consistent issues that might need addressing.
Evaluating Packet Loss
Packet loss occurs when data packets traveling between your computer and the game server are lost along the way. This can cause noticeable disruptions in your gameplay, such as rubber-banding or sudden disconnections. The net graph in CS2 will display your packet loss percentage, allowing you to monitor this critical aspect of your network performance. If you notice frequent packet loss, it might be time to check your internet connection or contact your ISP for support.
Assessing Server Performance
Server performance is another key aspect that the net graph helps you analyze. It provides insights into server tick rate and any potential server-side issues affecting your game. If the server tick rate is inconsistent, it might be time to switch servers or wait for the issue to resolve. Monitoring these metrics helps ensure that any performance problems are not just on your end but might also be tied to the server itself.
Regularly checking your net graph data can help you maintain optimal performance in CS2. By keeping an eye on latency, packet loss, and server performance, you can make informed decisions about your gameplay and settings adjustments.
Remember, while console commands like crosshair commands can enhance your gaming experience, understanding the data from your net graph is vital to addressing any network-related issues.
Conclusion
In wrapping up, getting the net graph up and running in CS2 is pretty straightforward once you know where to look. While the old console commands might be a thing of the past, the new settings panel makes it easy to keep tabs on your game’s performance. Whether you’re checking your ping, FPS, or packet loss, these tools are essential for any serious player. So, dive into the settings, make the tweaks, and you’ll be all set to enjoy smoother gameplay. Remember, staying informed about your connection can make all the difference in those high-stakes matches.

