In the world of Counter-Strike 2, clear communication can make or break your game. Whether you’re strategizing with teammates or calling out enemy positions, your microphone is a key tool. But what happens when it doesn’t work as expected? In this guide, we’ll walk you through the steps on how to change mic input in CS2 to ensure your voice is always heard.
Key Takeaways
- Get familiar with the audio settings in CS2 to select the correct mic input.
- Test and adjust your mic levels for the best in-game communication.
- Troubleshoot common mic issues by checking for conflicts or errors.
Understanding Microphone Settings in Counter-Strike 2
Exploring the Audio Tab
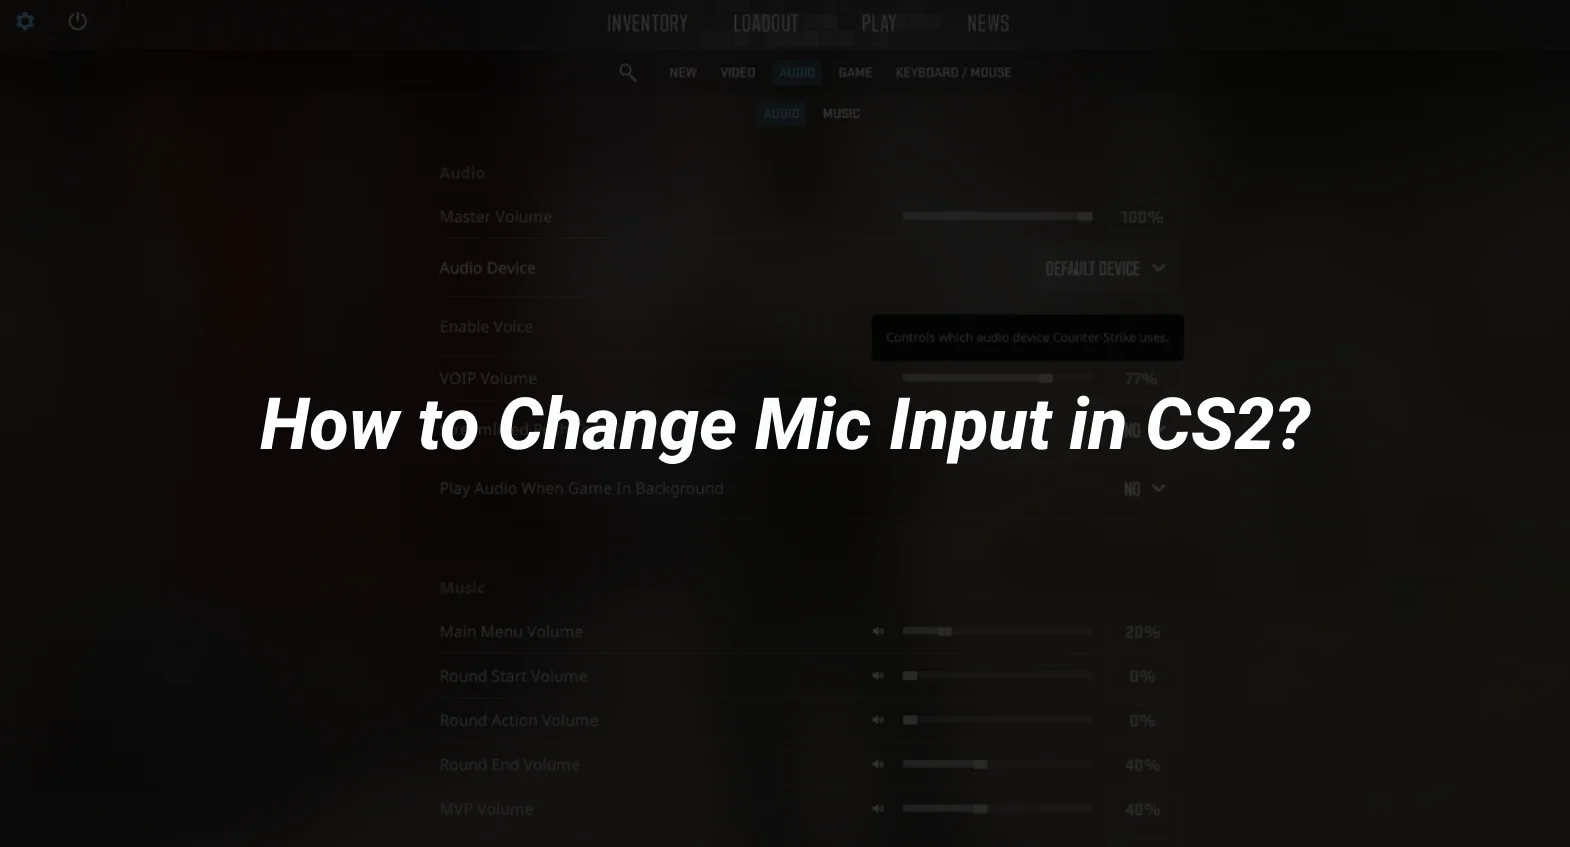
When you first jump into Counter-Strike 2, one of the essential things to get right is your microphone settings. The Audio tab is your starting point for this journey. Here, you can tweak various audio-related settings, ensuring that your in-game communication is as clear as possible. This tab allows you to configure both input and output settings, which is crucial for maintaining effective communication with your team. To access it, navigate through the in-game settings menu and look for the Audio section.
Locating Input Device Options
Once you’re in the Audio tab, the next step is to locate the input device options. This is where you select which microphone you’ll be using during the game. Sometimes, the input device settings are tucked away in a different section, so be sure to explore all the available tabs if you don’t see it immediately. Selecting the correct microphone is vital, especially if you have multiple devices connected to your system, like a webcam or a gaming headset.
Adjusting Voice Transmission Settings
After selecting your input device, it’s time to adjust the voice transmission settings. This involves setting the right volume levels and ensuring that your voice comes through clearly without any background noise. You might need to experiment with these settings to find what works best for you. Consider disabling any voice transmission thresholds that might cut off your speech prematurely. Additionally, if the game offers different modes for voice transmission, like push-to-talk or open mic, choose the one that suits your play style. Remember, these settings can significantly impact how well your teammates hear you, so take the time to get them just right.
Understanding and configuring your microphone settings in CS2 is not just about being heard; it’s about ensuring your voice is clear and effective during gameplay. This can be as crucial as knowing how to change your crosshair or mastering different game modes.
Configuring Microphone Input for Optimal Performance
Selecting the Correct Microphone
First things first, make sure you’re using the right microphone. Double-check that your preferred mic is selected in the CS2 settings. Sometimes, the system defaults to a built-in mic or another device you didn’t intend to use. Go into the settings menu, find the audio options, and select the microphone you want. This ensures that your voice is captured clearly and without interference from other devices.
Testing Microphone Levels
Once you’ve got the right mic selected, it’s time to test those levels. You want your voice to be clear, but not too loud. Use the “infinite time command” in CS2 to give yourself plenty of time to test. Speak into your mic and adjust the input levels until your voice is at a comfortable volume. You might need to tweak these settings a few times to get them just right. Don’t be afraid to ask a friend to listen and give feedback.
Implementing Microphone Boost
If your voice still isn’t coming through loud and clear, consider using a microphone boost. This feature amplifies your voice, making it easier for teammates to hear you. But, be careful not to overdo it—too much boost can cause distortion or pick up unwanted background noise. Start with a small increase and adjust as necessary. Remember, the goal is to be heard clearly without overwhelming the game audio.
In CS2, getting the microphone settings just right can make a big difference in your gaming experience. It’s not just about being heard; it’s about making sure your communication is as effective as possible. Take the time to fine-tune these settings, and you’ll notice the improvement in your gameplay.
Troubleshooting Common Microphone Issues in CS2
Identifying Potential Conflicts
So, you’re in the middle of a game, and your mic just stops working. Annoying, right? Identifying potential conflicts is the first step in getting things back on track. Sometimes, the issue isn’t with CS2 itself, but with other software running on your computer. Programs like Discord or streaming apps might be hogging your mic. Make sure these apps aren’t set to “exclusive mode,” which can block CS2 from accessing the mic. Also, check if your mic is set as the default device in your system settings.
Resolving Input Device Errors
Now, let’s talk about fixing input device errors. Open CS2 and head to the audio settings. Look for the “Voice Input Device” setting. If it’s on “Default,” switch it to your specific microphone. This simple change often fixes the problem. Don’t forget to adjust the volume, so you’re not blasting your teammates’ ears. If you still face issues, try restarting CS2 and Steam. Sometimes, a quick reboot is all you need.
Ensuring Compatibility with Third-Party Software
Finally, let’s ensure compatibility with third-party software. Some programs might interfere with CS2 mic settings. Check your Windows sound settings and disable any unnecessary input devices. You might have a webcam or game controller that CS2 mistakenly uses as a mic. Also, ensure your audio drivers are up to date. Outdated drivers can cause all sorts of issues.
“Remember, a smooth gaming experience often comes down to the small details. From adjusting your cs2 mic settings to ensuring the right setup for your cs2 push to talk button, it’s these tweaks that make a difference.”
If you’re still having trouble, consider checking forums or community guides for advice on “how to change mic input cs2” or “how to use mic in cs2”. Sometimes, the simplest solutions are the ones shared by other players. And if all else fails, the “fastforward a replay” and “max fps command” might just give you a fresh perspective by clearing other potential bugs.
Enhancing In-Game Communication Through Audio Settings
Enabling Voice Chat Features
To make sure you’re heard in the heat of battle, you need to enable voice chat in CS2. Look for the Voice Chat setting in the audio options. Once there, find the option that lets you activate voice transmission. Typically, this involves pressing a specific key on your keyboard. Choose a key that’s easy to reach while you’re playing, so you can communicate without missing a beat.
Customizing Audio Output Configuration
Getting your audio output just right can make a big difference. Start by selecting the audio device you’re using—whether it’s headphones or speakers. This choice ensures the game processes sound correctly for your setup. Next, adjust the audio configuration to match your system. Options might include Stereo Headphones, 5.1 Speakers, or just two speakers. Tweak the volume to a level where you can hear everything clearly, but not so loud that it becomes uncomfortable.
Utilizing Advanced 3D Audio Processing
For those looking to get an edge, enabling 3D audio processing can be a game-changer. This feature helps you identify where sounds are coming from, like footsteps or gunfire, giving you a better sense of your surroundings. Just make sure your audio equipment supports this feature before turning it on.
Fine-tuning these settings can significantly improve your gaming experience, allowing for clearer communication and more immersive gameplay.
Conclusion
In wrapping up, adjusting your microphone settings in Counter-Strike 2 is a straightforward process that can significantly enhance your gaming experience. By following the steps outlined, you ensure that your voice is clear and commands are heard, which is crucial in a fast-paced game like CS2. Remember, the key is to keep it simple—focus on the in-game settings and avoid unnecessary system changes. With these tweaks, you’ll be better equipped to communicate effectively with your team, making your gameplay more enjoyable and successful. So, take a moment to fine-tune your mic settings and dive back into the action with confidence.


