Ever found yourself wondering how to set or cap the max FPS in CS2? You’re not alone. Getting the right frame rate can make a world of difference in your gaming performance. Whether you’re looking to optimize your system or just want smoother gameplay, understanding how to manage your FPS is key. Let’s dive into how you can cap your FPS in CS2 and why it might just be what you need for that competitive edge.
Key Takeaways
- Capping FPS in CS2 can help stabilize your game and reduce screen tearing.
- Using the developer console or Steam launch options are effective methods to set FPS limits in CS2.
- Balancing FPS with your system’s capabilities can optimize performance and prevent overheating.
Understanding the Importance of FPS in CS2
The Role of FPS in Gaming Performance
FPS, or frames per second, is a measure of how many images your computer can display in one second while playing a game. In CS2, a higher FPS can give you a smoother and more responsive gaming experience. When you’re in the heat of a match, every millisecond counts, and a higher FPS can make a difference in your reaction time and overall performance. It’s like having a faster refresh rate on your minimap, allowing you to react quicker to changes.
How FPS Affects Visual Experience
Your visual experience in CS2 is directly tied to your FPS. If your FPS is too low, you might notice choppy images or lag, which can be distracting and even detrimental to gameplay. On the flip side, having a high FPS ensures the game looks smooth and fluid, enhancing your immersion. This is crucial in fast-paced games like CS2, where every frame counts towards a seamless experience.
Balancing FPS and System Resources
While having a high FPS is beneficial, it’s important to balance it with your system’s capabilities. Pushing your system too hard to achieve high FPS can lead to overheating and potential damage. Additionally, not all systems need to run at maximum FPS to provide a good experience. Often, capping your FPS at a reasonable level can prevent unnecessary strain on your hardware, leading to a more stable and consistent performance. This balance helps in maintaining the longevity of your components while still enjoying a smooth gaming experience. It’s a bit like managing your minimap settings; too much detail can clutter your view, while too little might leave you unprepared.
Methods to Cap FPS in CS2
Using the Developer Console
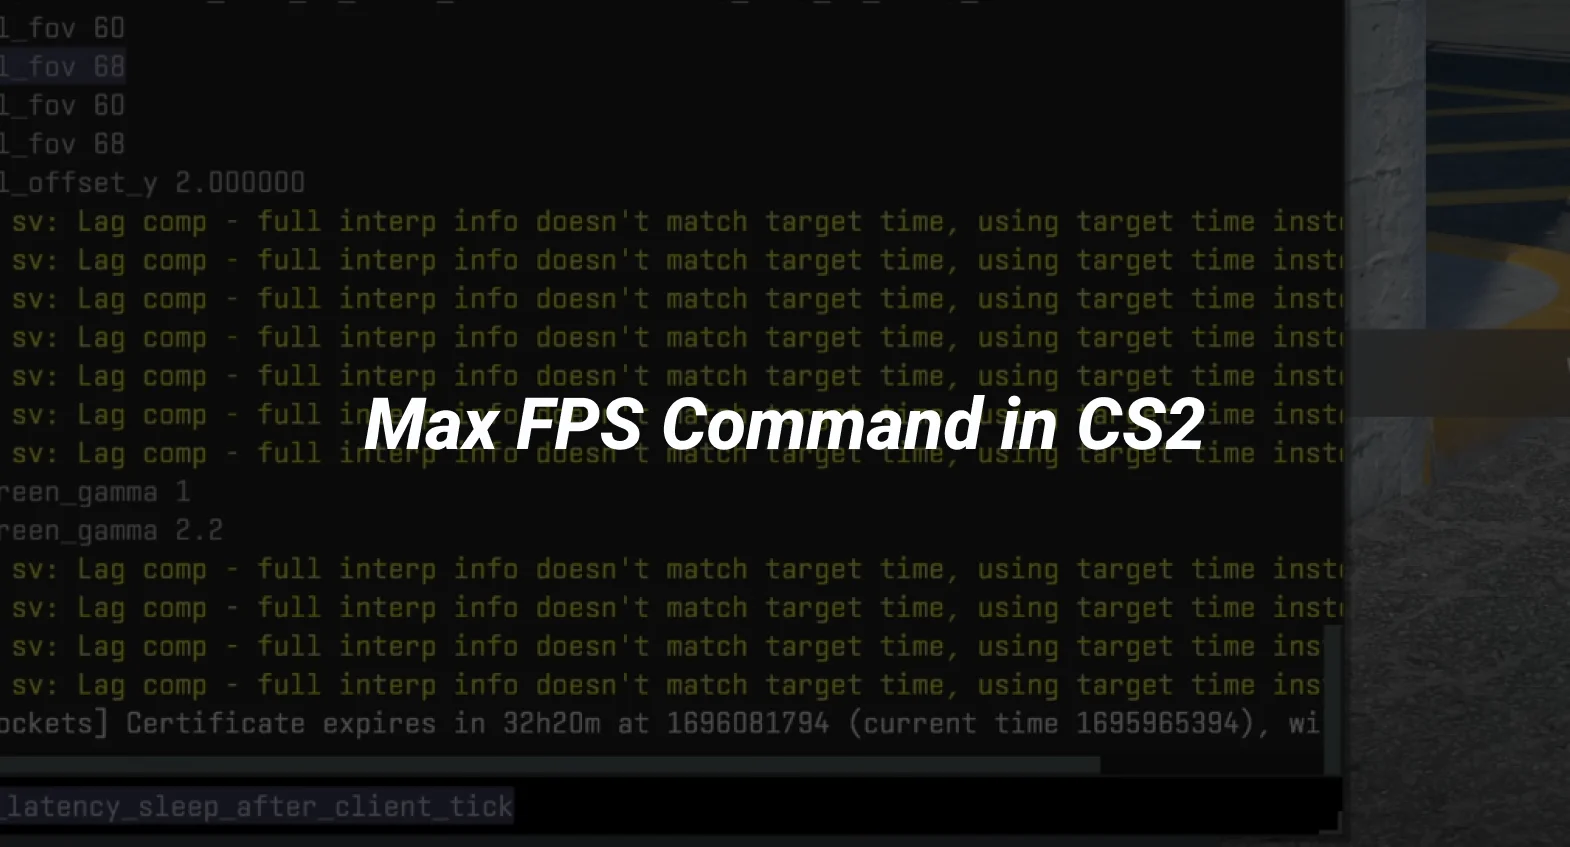
To adjust the frame rate in CS2, the developer console is your go-to tool. First, make sure it’s enabled by heading to the settings menu. Once there, navigate to the game tab and toggle ‘Enable Developer Console’ to ‘Yes’. Now, press the ~ key to open the console. Type fps_max followed by your desired frame rate number to set a cap. For instance, fps_max 60 will limit your FPS to 60. If you’re wondering how to uncap FPS in CS2, simply set fps_max 0 to remove any restrictions.
Setting Launch Options in Steam
Another way to manage your CS2 FPS cap is through Steam’s launch options. Right-click on CS2 in your Steam library, select ‘Properties’, and find the ‘Launch Options’ section. Here, you can input commands like +fps_max 120 to set your desired FPS cap. This method is handy if you prefer not to use the console every time you play.
Adjusting In-Game Video Settings
Sometimes, tweaking your video settings can help manage FPS. Go to the settings menu, then click on ‘Video’, followed by ‘Advanced Video’. Lowering settings like texture quality and disabling unnecessary features can free up system resources, indirectly capping your FPS to a smoother, more manageable level. This is particularly useful if you’re looking to optimize hardware performance without manually setting a CS2 max FPS command.
Balancing your FPS not only improves gameplay but also enhances system stability and reduces screen tearing. By understanding how to cap FPS in CS2, you ensure a fluid gaming experience that aligns with your system’s capabilities.
Benefits of Capping FPS in CS2
Enhancing System Stability
When you cap your FPS in CS2, you’re helping your system stay stable. Uncontrolled FPS can lead to wild fluctuations that might cause stuttering or even crashes. By setting a limit, you ensure your game runs smoothly without unexpected hiccups. This is especially useful if your hardware is on the older side or if you’re pushing your system’s limits.
Reducing Screen Tearing
Screen tearing happens when your FPS doesn’t match your monitor’s refresh rate. By capping your FPS, you can reduce or even eliminate this problem. If your monitor refreshes at 144Hz, setting your FPS cap slightly below that, like at 141 FPS, can make everything look smoother. This way, your game visuals stay crisp, and your aim remains steady.
Optimizing Hardware Performance
Capping FPS isn’t just about visuals—it’s about your hardware too. Running your CPU and GPU at maximum capacity can lead to overheating, which isn’t great for your system’s health. By limiting FPS, you reduce the workload on these components, potentially extending their lifespan. Plus, if you’re gaming on a laptop, capping FPS can help conserve battery life.
Consider using commands like ‘enable net graph‘ to monitor your FPS in real-time and adjust settings as needed. This can help you find the perfect balance for your system.
Advanced Techniques for FPS Management in CS2
Creating an Autoexec File
To streamline your gaming experience, creating an autoexec file can automate the process of setting your preferred FPS limits and other commands every time you start CS2. This file acts like a script that the game runs automatically at launch. You can include commands like fps_max to set your FPS cap or cl_showfps to display your FPS in real-time. Here’s how to create one:
- Navigate to your CS2 installation directory.
- Open the cfg folder.
- Create a new text file and rename it autoexec.cfg.
- Add your desired commands and save the file.
Utilizing Third-Party Software
Sometimes, the in-game settings might not be enough. Third-party software can offer more control over your FPS settings. Programs like RivaTuner Statistics Server allow you to cap FPS globally across all games, not just CS2. This can be particularly useful if you play multiple games and want a consistent frame rate experience.
Monitoring FPS in Real-Time
Keeping an eye on your FPS while playing can help you make on-the-fly adjustments to optimize performance. You can use the in-game console command cl_showfps 1 to display your FPS on the screen. Alternatively, third-party software like MSI Afterburner can provide a more detailed overlay, showing not just FPS, but also GPU and CPU usage, temperatures, and more.
Managing FPS effectively can lead to a smoother gaming experience, reducing lag and screen tearing, while ensuring your hardware isn’t overworked. By using these advanced techniques, you can tailor your setup to match your specific needs and preferences.
Conclusion
In wrapping up, understanding how to set or cap your FPS in CS2 can make a noticeable difference in your gaming experience. Whether you’re aiming for smoother gameplay or trying to prevent your system from overheating, knowing the right commands and settings is key. Most players find that keeping their FPS between 60 and 90 is sufficient, but those with high-end systems might push for higher numbers. Remember, it’s all about finding what works best for your setup and personal preference. So, take the time to experiment with different settings and see how they impact your game. Happy gaming!

