Anubis, a unique map in the CS2 active duty pool, offers a mix of narrow choke points, open bomb sites, and complex mid controls. Understanding the callouts is essential for effective communication and strategy execution. This guide covers every crucial callout on the Anubis map, categorizing them into A Site, B Site, and Mid. Additionally, we’ll explore strategies for both attacking and defending each site.
Anubis A Site Callouts

- A Main (or A Entrance)
- The primary entrance to A site from the T side. This area is often heavily contested, with T-side players typically executing smokes and flashes to gain control.
- A Long
- The extended pathway leading to A Site, allowing Ts to approach the site with a wider angle. This area can be used for long-range engagements.
- A Short
- A shorter path connecting A Site to Mid. CTs often position themselves here to catch Ts off guard as they rotate from Mid.
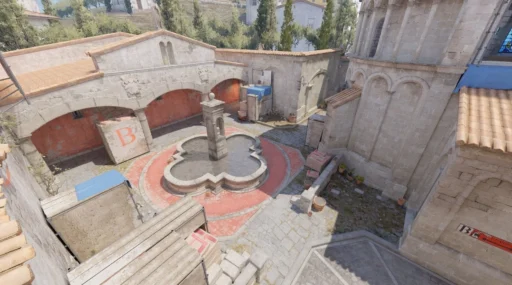
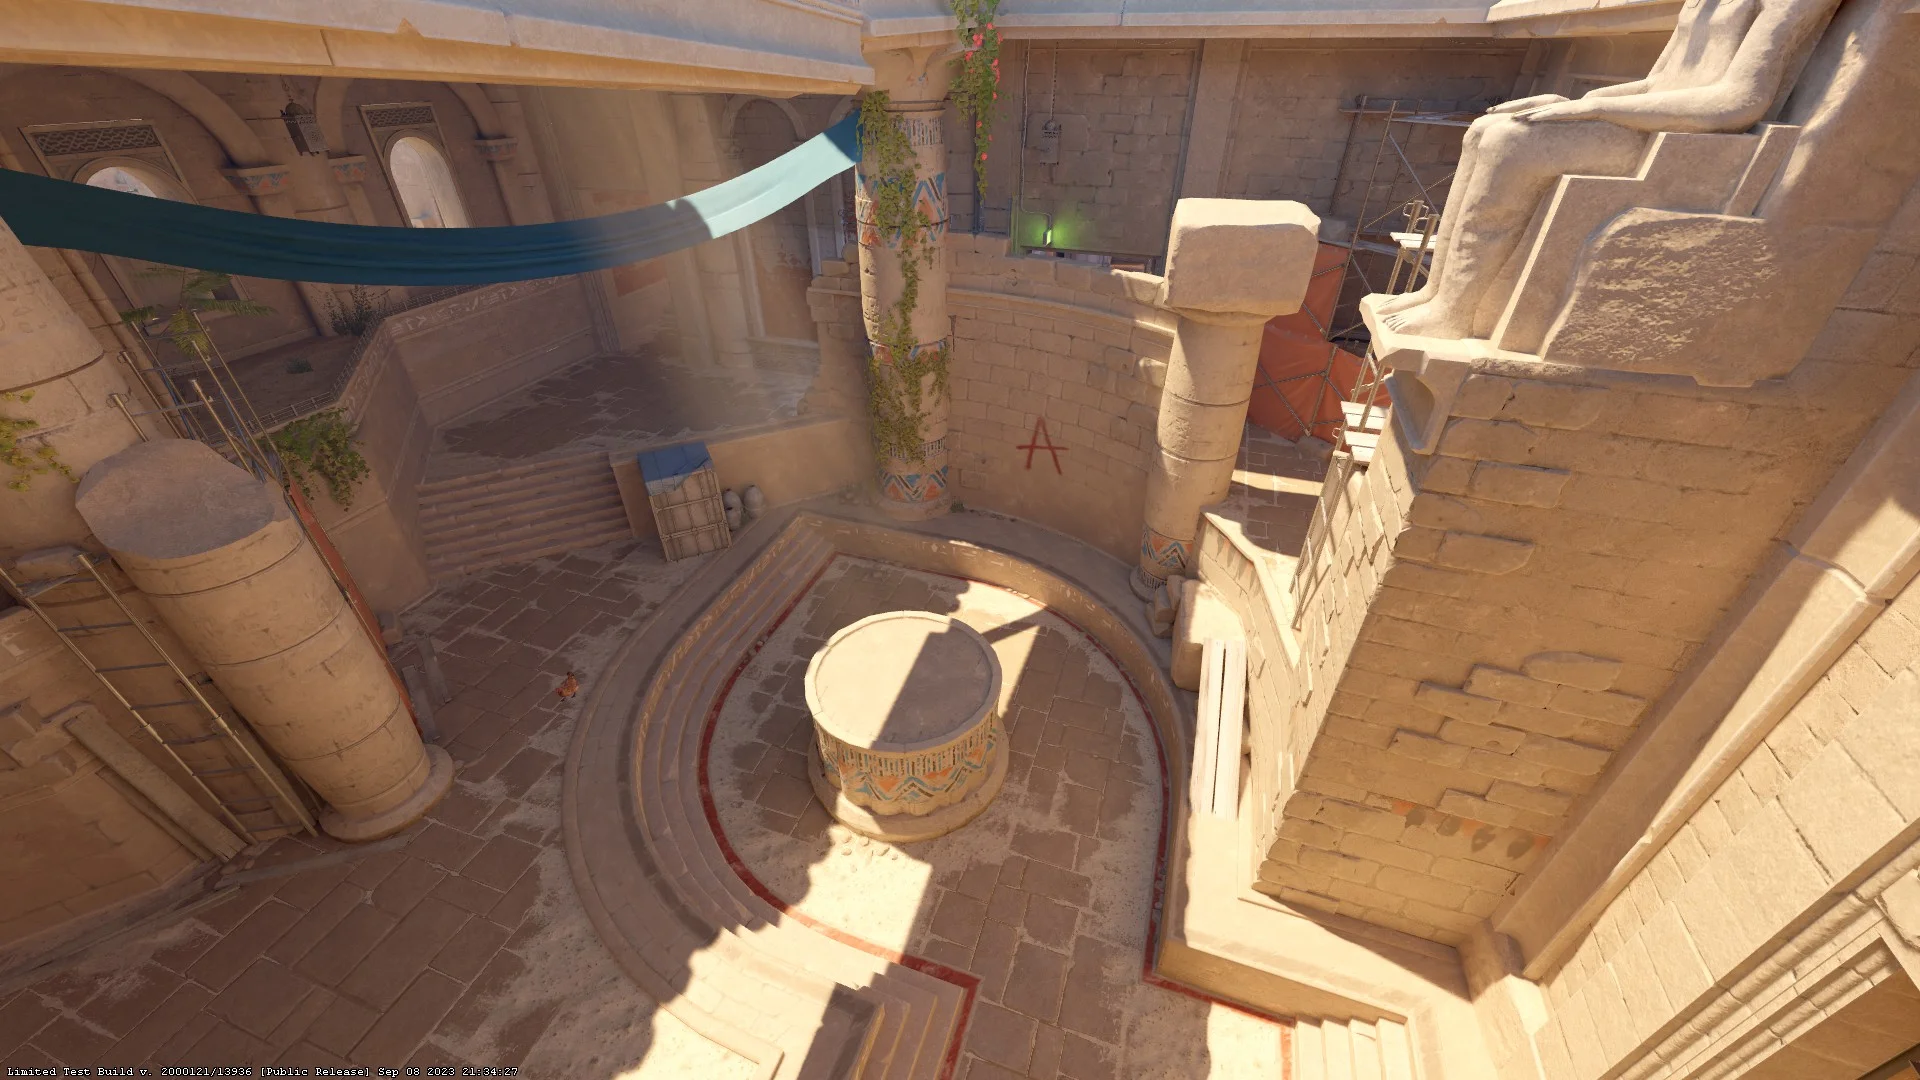
- A Site
- The actual bomb plant zone. The site has multiple cover points, including crates and pillars, making it a critical area to control during post-plant scenarios.
- A Heaven
- An elevated position overlooking A Site, accessible from CT Spawn. It’s a crucial spot for CTs to hold as it provides a clear line of sight over the entire site.
- A Ramp
- The sloping pathway leading from A Short to A Site. Controlling this area is key for both attackers and defenders during site engagements.
Furthermore: CS2 Active Maps
Anubis B Site Callouts
- B Main
- The primary entry point to B Site from the T side. Ts usually gather here before executing onto the site.
- B Long
- A longer route that approaches B Site from the side, allowing Ts to split their attack or catch rotating CTs off guard.
- B Short
- The short pathway that connects B Site to Mid. It offers a quick rotation route for CTs and a secondary entry point for Ts.
- B Site
- The bomb plant zone for B, with several cover points including crates and statues. Holding this site post-plant is often challenging due to its open nature.
- B Bridge
- A bridge that connects Mid to B Site, offering a high vantage point for both Ts and CTs to control.
- B Heaven
- An elevated position overlooking B Site, providing a strong defensive position for CTs.
Mid Callouts
- Mid (or Middle)
- The central area of the map that connects both A and B Sites. Controlling Mid is crucial for map dominance, as it allows for quick rotations and surprise attacks.
- Mid Bridge
- A bridge in the middle of the map that offers a high vantage point, allowing players to control the flow of movement between the sites.
- Mid Connector
- A passage that links Mid to both A Short and B Short, enabling quick transitions between sites.
- Water
- The area underneath Mid Bridge, often used for sneaky plays or to catch opponents off guard.
Furthermore: Overpass Callouts
How to Execute A Site as T Side
- Smokes and Flashes: Use smokes to block off A Heaven and A Ramp, while flashing A Main to prevent CTs from peeking.
- Split Push: Combine an attack from A Main and A Short to overwhelm the CTs from multiple angles.
- Mid Control: Securing Mid allows you to quickly rotate to A via A Short, catching the CTs off guard.
How to Execute B Site as T Side
- Utility Usage: Smoke off B Heaven and B Main to limit CT visibility, while using molotovs to clear out potential hiding spots.
- B Long Push: A coordinated push through B Long and B Main can stretch the CT defense and open up the site.
- Mid to B: Controlling Mid gives you the option to rotate quickly to B via B Short or B Bridge, applying pressure on the CTs.
How to Defend A Site as CT Side
- Hold A Heaven: Position a player in A Heaven to maintain sightlines over the entire site and quickly call out enemy positions.
- Aggressive A Short Control: Controlling A Short allows for a quicker response to any pushes coming from Mid.
- Utility Management: Use your grenades wisely to delay and disrupt T-side executions.
How to Defend B Site as CT Side
- B Heaven Control: Placing a player in B Heaven gives you a strong defensive position to control the site.
- Mid Pressure: Apply pressure in Mid to prevent Ts from gaining control and executing split attacks onto B.
- Crossfire Setup: Establish a crossfire between B Site and B Short to catch Ts as they attempt to enter.
Mastering the Anubis map callouts in CS2 is essential for both individual performance and team success. By understanding and utilizing each callout effectively, you can improve your communication and strategic play on this complex and dynamic map.
When was anubis added to CSGO?
Anubis was officially added to CSGO on November 18, 2020, as part of the Operation Broken Fang update. It was later added to the Active Duty map pool on November 18, 2022, replacing Dust II in competitive play.
This inclusion marked Anubis as one of the key maps in the professional circuit.
More CS2 Map Callout Guides: